Monday, September 19, 2011

{Wild Kingdom...in my Backyard}

Here's a little bit of what we've been experiencing lately...and loving it.
We have about an acre and a half of property, with 150 acres of woods behind us. It's private, very country, and yet still somehow close to everything. You know what they say...location, location, location! But enough about that.
The best part is that it feels like Wild Kingdom! :)
We see 3 different coyotes at least a couple of times a week. Two are usually together, and then one that seems to travel alone.
This one is the loner and seems comfortable with us watching him/her. He just seems to enjoy snacking on walnuts and watching us watch him. We named it Wile E. :) The 2 that hang together are very skittish though, and I've yet to get a pic of them together.
There are tons of deer coming through the yard day and night, but we have a few regulars that we recognize. The sneaky ones:
 And 2 does...one with twins, and one with an only. Haven't been able to get a pic of the twins, but the 'only' has been left in our yard more than once while mom goes off to feed. Isn't she beautiful?
Then there are the sneaky squirrels, who we kid about but actually don't mind them stealing the birdseed. They are too fun to watch to care!
 One of the coolest things we've found in the yard was a big surprise and wonderful...if only for a few hours.
I stumbled upon a turtle nest while walking our dogs. Many eggs were crushed and mangled, so I assumed something had eaten them. Then I saw an eye, peeking out of a shell, just beginning life.
 He was the last and final egg, completely untouched I guess, and I happened to find the nest as he was pushing his way out! I spent the afternoon checking on him every 30-45 minutes, taking pics and video like crazy. It was pretty amazing! I nearly went to the school to bring my daughter home to witness the whole thing!
Unfortunately, he worked so hard to get out, and even made it completely out of the nest and facing the woods...but then went to the happy turtle grounds in the sky. :( I was so bummed! We're still researching to try to figure out what kind of turtle he was, if he needed mom, etc.
 My daughter made a burial place for him, and named him "Sam". (It seemed like a good unisex name.)
And then there are all the miscellaneous cool critters we see...HUGE, interesting insects like cowkillers , cicada killers , and this luna moth:
Little snakes and tiny cabbage loopers...
I saw a baby skunk one night as I was about to take the dogs for a walk. Of course we steered clear, but can we just say CUTE!! So small and waddling all over. I'm just glad we didn't run into Momma skunk.

I love living in the country! We are huge lovers of nature, and the surprise of what we might see outside every day is such a neat thing to experience.  I'm never sure what I might find or see on any given day, so the camera is always at the ready.
Ahhhh....country livin'....sitting on the deck eating dinner, waiting to see what will come out next.
If you want to join us for dinner, be sure to bring your camera!
Thanks for dropping by,

Sunday, September 18, 2011

{Trick or Treat Photo Hanger}

I love to look at pics of my kiddo in all of her Halloween costumes over the years, and even better yet, to compare them and watch her grow from year-to-year. I decided to make a place to showcase a trick-or-treat photo from each year so we could do just that...watch her grow, all in one place. I came up with this wall hanging, and I love how it turned out!
I decided to go with 12 picture pockets total, still leaving me with 5 years of photos left. (She's 7, so if we're still dressing up by then, I can make a second one!) If you have multiple kiddos, you could take a group pic each year and showcase them that way.
This really wasn't a hard project at all, so new sewers I think will be just fine with it! I'm new to tutorials, so if you have questions or I'm not clear, don't hesitate to shoot me an email and I'll do the best I can to help you out! This fits nicely on a narrow closet door, so you could surely widen it if you wish with no problem. Each picture pocket is 5 x 7, so old photos (regardless of direction) fit nicely.
Total fabric you will need:
1/2yd front facing fabric, 1/2 yd backside fabric, 1/2yd black felt, & 1/2 yd (8 gauge) vinyl

Cut your pieces to:
(1) front facing fabric, 38" x 18.5" 
(1) backside fabric, 38" x 18.5"
(12) vinyl sheets, 5" x 7" (I used 8 gauge)
(12) black felt, 5.5" x 7.5"
fusible fleece, ~ 37" x 17.5" (or something close to that...you want to leave a border of fabric around your fleece to make sewing easier)
long strip of homemade bias tape to use as your hanger OR ribbon
fabric adhesive spray
skinny dowel rod
thread, sewing machine, scissors, etc.
1. First cut all of your pieces.
 2. First you will sew your vinyl pieces onto each rectangle of black felt to make the photo pockets. Don't be afraid of the vinyl, but I do have to tell you...I tried multiple ways to keep that stuff from sliding and couldn't do it. I resorted to investing in a can of fabric spray adhesive and it was a piece of cake to use. It works great! So I recommend it highly (unless of course you know some wonderful trick that I don't!) 
So...spray the edges of each piece of black felt (one at a time) on three sides, then align your vinyl piece to each one and press down. It's a miracle I tell you! :)
 I put a scrap piece of 12x12 paper underneath to keep things clean.
   3. Once you have all of your photo pockets adhered with the spray, simply stitch along 3 sides to seal them up completely. The vinyl is noooo problem to sew on, so don't be afraid of it. The spray is made for this, so you won't gum up your needle.
 4. Now you have all of your photo pockets made, so set them aside. Next iron your fusible fleece to your backside fabric. You want to cut it so there's a border of fabric all the way around. Believe me, this makes sewing much easier and also looks much better, too.
5. Set that aside. Now take your front fabric and line up your photo pockets how you want them. I did 6 along each side. Pin them in place, then stitch all the way around each one. You really have 3 options here: a)You can use Liquid Stitch to adhere the pockets on permanently (that stuff is phenomenal and really works like it has been sewn on); b) you can use the spray adhesive again to hold the pockets in place for sewing, or c)you can pin them on and sew.  It's up to you...all those choices work well. Pinning them is a bit cumbersome just from lining things up repeatedly. 
TIP: Make sure each pocket is facing the right direction for you to insert a photo!!
 6. You're almost done! Now pin the front fabric and back fabric, RIGHT SIDES together on 3 sides. Sew along 3 sides with a 1/4" seam allowance, clip the corners, then turn right side out.
7. Now fold under the opening and topstitch it, along with a topstitch all the way around. This is an optional step, but I think it looks much more finished this way! You can see the top stitching in the next photo.
8. Now fold under the top about 1/2" to 3/4" to make the dowel rod pocket, and just sew it down right along your topstitch. Again, make sure you're folding under the TOP, for your photo pockets to be in the right direction.
 9. Turn it over, insert your dowel rod, and add whatever you choose to hang it with! :)
I made a bias tape "ribbon" with leftover black fabric, but you could also use wide grosgrain ribbon that would look great. I just didn't happen to have any on hand. If you need info on making your own bias tape, it's SUPER simple and you can find a tutorial over at Made.
Or you can use a length of wide ribbon for the same effect!
And Voila! There you have it!
 All ready for this year's photo!
Another thought I had would be to use vinyl stickers to put the year in the corner of each photo pocket. I decided against it for this one, but I think that would be cute as well.
Good luck making one of your own, and please email me with questions or if you note something I've inadvertently left out.
Take care,


Creative Itch


Saturday, September 17, 2011

{Little Girl Crossover Purse}

My daughter has masses of dress-up purses (my old ones), and lots of Princess and misc bags to play with. We actually could purge a few! But as she played the other day, I realized that when we go shopping with her money or gift cards, for some reason I'm still in charge of the currency. Not really intentionally, just out of habit.
At 7, it's about time she kept up with it a bit!

Enter: Mom...with a "little girl purse" idea.
I started measuring her. I knew I wanted it to go across the body so it didn't get lost in the excitement of Barnes & Noble or Build-a-Bear. (Anyone else have daughters?)
Here's what I came out with, using old jeans from my stash and misc scraps.
I had a 'first', and didn't put the straps inside the lining. Instead I finished the ends and sewed them in an "X" to each side, then added a button for looks.
Here's the skinny if you want to make your own!

Lining (2): 7 1/2" x 8"
Exterior (2): 7 1/2" x 8"
Straps: I cut her strap fabric to 2 1/2" by about 37", but measure your own kiddo for accuracy
Fusible fleece for the strap
Buttons, embellishments, Wonder Under, misc.

The body is made from jean pant legs, the straps are literally made of scraps, and the flower on the front I die-cut with my Cuttlebug and ironed on with Wonder Under. I think I boxed the corners at 1".

 My fave part is the strap. I've never made anything "scrappy" with fabric (not sure why), and I love how it turned out.
Perfect size for her cash, gifts cards, chapstick, and sunglasses!

Have a nice day!

Monday, September 12, 2011

{Halloween Coasters...I Couldn't Wait!}

Halloween is my VERY favorite time of year to decorate! Love, love it! I think I enjoy it more than Christmas simply because there's no stress surrounding it, you know? I just get to enjoy it. I go a little nuts with the treats and the decorations, and I love every minute of it. I can't wait to post some of my fun Halloween projects! 
To start things off a little early, I whipped up these Halloween coasters and table mat with some scrap fabric my Mom was going to throw out. (What??! Throw out fabric?! She's crazy!) So I snatched it up a few months ago and when I got that ol' Halloween feelin' this past weekend, this fabric called to me. (Okay, it really called to me because it was free, but it's pretty cute, too.)

Halloween Coasters
Super simple!
I cut each square to 5 1/2" x 5 1/2", along with 2 pieces of fusible fleece for each coaster to make them heavier and a bit quilt-like. Iron on your fusible fleece, pin right sides together, and sew on 3 sides. Then I turned under the final side and topstitched 2 rows all the way around, just for interest. I made 4 all together.

While I was at it, I made a placemat of sorts to set on my table under my centerpiece.
I only used one piece of fusible fleece, and you could certainly make several of these to be actual placemats. For some reason placemats really drive me bonkers, so this one will just go under a centerpiece (which has yet to be pulled out). My hubby would kill me if I started Halloween decorating this early but I definitely could!  It measures about 18" x 13" I think.

So I've gotten started and I can't wait to pull out our Halloween boxes to see all the surprises I've forgotten I made last year. :) This week I'm planning to make some of this SUPER cute Candy Corn Bunting . It's perfect for my staircase!

Enjoy!


Thursday, September 8, 2011

{Organizing School Work}

How do you handle the mound of school work that comes home? I have only one kiddo, and I know I'm in the minority, so I always like to see what others do. There are tons of really cute and sensible ideas out there, so I thought I would share how we handle storing and keeping our school papers.

I start the year by keeping nearly EVERYTHING. And I mean everything. Unless it's a note for an event, it goes in this box:
It's a 12x12 scrapbook box that I got on sale for around $4. Don't worry...it's not the finished product. Although if you have ZERO time and 5 kids, it would be perfect...just cumbersome. :)
But I'm off-topic...so here's what I do next.
I keep everything in the box all year. At the end of the year, I go through everything and throw away A LOT. I keep about 25-30 important pieces of work or projects. All the newsletters and extra paper that has a blank back, we stash in our scrap paper pile in our office. 
Then I gather these supplies:
legal expandable envelopes with velcro or a cord
packing tape
computer/paper


I make up some labels listing the school year, my kiddo's age, the school, the teacher, and the location. You can use large labels for this, but honestly ours are stored in the attic. (We have a really cool walk-in attic that we go in and out of weekly, so we can access these anytime. Not a traditional attic.) I have found that labels in attics (over time) tend to peel with the variations in temperature, so I always use cardstock and packing tape instead. It just works better for me.:) It looks like this:
I add all the work I'm keeping, adhere the label, and file them in this nifty tote.
I love crate ideas...but that just means dust and crud to clean off for me, although they are so cute. A file box is another great idea, but maybe I keep too much, but we would fill that rather quickly. So this is our method, and it works great!
Thanks for stopping by,

Saturday, September 3, 2011

{Trash to Treasure: Goodwill Re-Vamp}

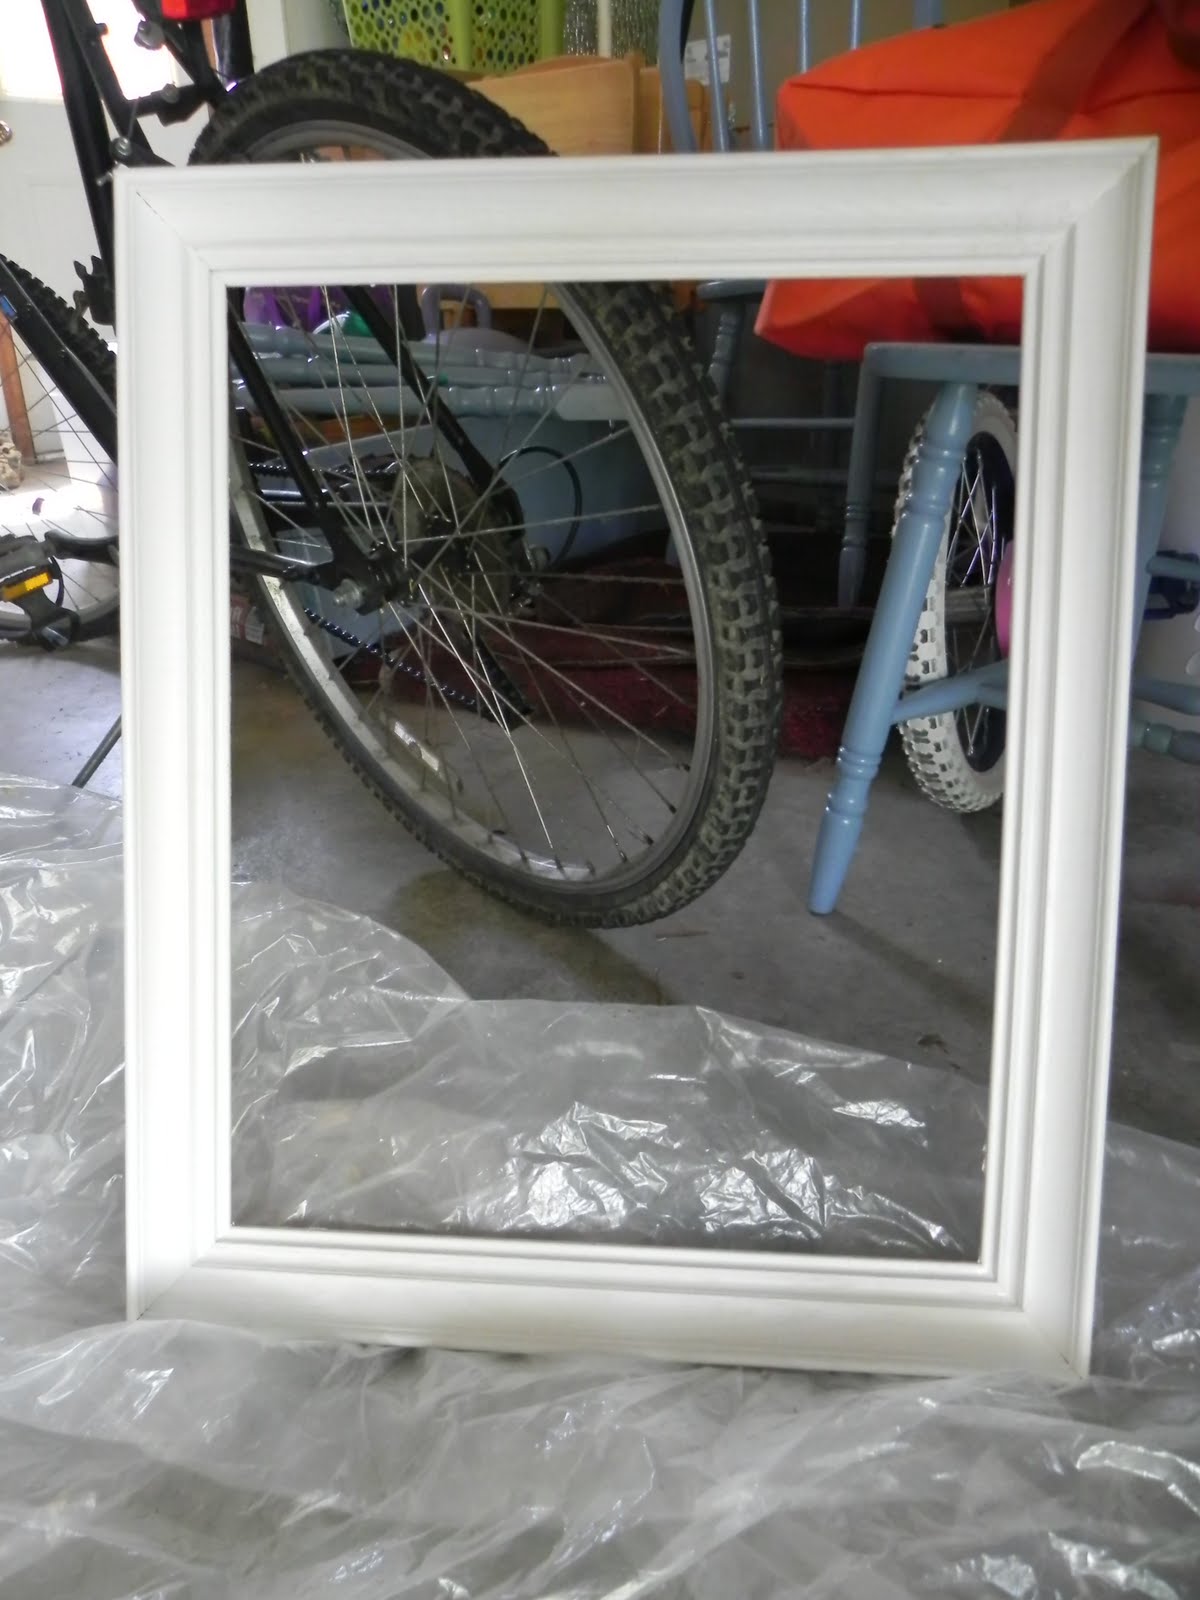
I've seen these wire line frames all over and loved the idea, but I'm just now gettin' to it. I've shopped around for a frame for my daughter's room, but the size I wanted was still more than I wanted to pay. I came across this beauty at Goodwill earlier this week for a whopping $3. Now that's my price!
It was stinky and nasty, but perfect for my plan.

First I scrubbed it with Murphy's Oil Soap-Citrus and pulled the nails out of the back. That was a big difference by itself!
 Then I brush painted it with eggshell white. I was out of white spray paint, and had a perfectly good can of paint on hand. I gave it 2 coats.
Getting better, no? And it didn't stink anymore, which is always a bonus.
I used craft wire I had on hand for the 'lines', but it was brass-colored. Yuck. I wasn't going to spend $5 on a new spool of craft wire, so I rummaged through my spray paint and found some odd gray-ish, tan-ish, platinum-ish from I-don't-know-where. (Sound like a paint expert, don't I?) I don't have a pic, but I cut my wire to the correct length, taped them to a step stool top, and sprayed that ugly brass off with my gray-ish,tan-ish,platinum-ish. Perfect.
I stapled the wires to the back side and voila....

I added the rolled felt flowers after I saw this tute over at My Heart is Yours . Super, super easy. I could make those all day! Using scraps of course....
I hot glued those on, and added these little clothespins from Michael's $1 Spot that I picked up a few months ago (anticipating this 'someday' project).
They're super cute and match my kiddos room.
So now we have to hang it, but we are always needing a spot in her room for a current picture, card, or whatever else she deems "special". I'm not too hot on tacks in a child's room (even if she IS 7), so this works wonderfully and is super-cute to boot.
I spent $3 all together, which you just can't beat either.

Thanks for stopping by!
Linking up at these parties:


 Tatertots & Jello Weekend Wrap Up Party
 UndertheTableandDreaming
Sundae Scoop