Showing posts with label makeovers. Show all posts

Tuesday, March 27, 2012

{Plastic to Pretty}

Hello to you! Sorry I've been MIA lately!  Life around here seems to be flying by, and I sure have missed the chance as of late to get creative. I haven't been able to post much, or even scour the craft world for all the wonderful ideas out there. I've found that lately I've been putting all of my creative energies into my Pre-K class, although I have a long to-do list of things I'd like to work on around the house. Spring 'sprung' up early 'round these parts, so I've been enjoying watching everything bloom and getting back on the mower. (One of my favorite parts of taking care of our large lot.) I haven't been able to spend as much time in there as I'd like to, but check out the view from my craft room:
Isn't that tulip tree gorgeous?? It's a wonderful inspiration (as long as you're actually IN that room, ha!)
So...here's a simple little project I whipped up recently. We have tons of little plastic baskets around our house. You know, the little white ones that come 2-3 in a pack at Walmart for a buck or two? They come in all shapes and sizes.
My daughter has a few around her bedroom, just to keep the little things organized and together. Her headboard has shelves on it, so she keeps a small one there with her nighttime 'necessities': chapstick, a pen, cortisone cream, and of course, a Fairy lipgloss. ;)  She uses another for her collection of bookmarks, and so on. I decided they needed a little bit of embellishment!
I chose some ribbon from my stash that matches her room  and just started weaving.
What a super easy way to make a tiny change and embellish a plain little basket!
I didn't cut a length of ribbon to start. I just started weaving, and then trimmed it at the end. On the first basket, I overlapped it where the two ends met and they naturally lay flat. You could add a touch of glue or sticky strip if you need to hold the ends down.

Cuter, no? And it actually 'hides' the boring contents a bit as well.
For the longer basket, I decided to tie the ends together in a little knot at a corner. I really like how that looks. Now I can picture favor baskets for birthday parties, little gift baskets for teachers and neighbors, and more.

An easy way to spruce up a very plain (but necessary!) item.
Thanks for stopping by, and for your patience. I've missed posting, and am looking forward to getting back in the swing of things!
Take care,

Friday, October 7, 2011

{Garage Sale Makeover}

I picked up this GREAT table at a garage sale a couple of months ago. It was one of those wonderful near accidents where you're driving along and literally hit the brakes in the middle of the road because the light has just poured out of heaven right onto a table at a garage sale! LOL
I've been wanting something for our bonus room, to replace the plastic Little Tikes table that my kiddo is squeezing herself into these days. I was out of town when I bought it, so I had to disassemble the whole thing to get it home...meaning I don't have a good before picture. :(
But I do have a good after picture... it was originally baby blue, but in excellent condition.
I actually sanded it down quite a bit on the top...really as a complete amateur thinking I NEEDED to do that. Now I realize I didn't need to. Oh well...I got sandy. :)  I used leftover paint from my bathroom, and I did 2 coats (no primer). I actually planned to distress it afterward, but I liked it so much the way it is that I didn't bother.
These are a few of the before pictures...disassembled:

I sanded down the chairs just a bit, but kind-of went to town on the table top. Again...I realize now that is wasn't needed, but we live and learn!
Oh, I forgot to mention how much I paid for this little beauty...a whopping $27!! It is super sturdy, in excellent condition, and folds down on the sides. It's perfect for our bonus room...for homework, playing games, and it's the right size for everyone. (Goodby Little Tikes, LOL!)
Have a great day!

Saturday, September 3, 2011

{Trash to Treasure: Goodwill Re-Vamp}

I've seen these wire line frames all over and loved the idea, but I'm just now gettin' to it. I've shopped around for a frame for my daughter's room, but the size I wanted was still more than I wanted to pay. I came across this beauty at Goodwill earlier this week for a whopping $3. Now that's my price!
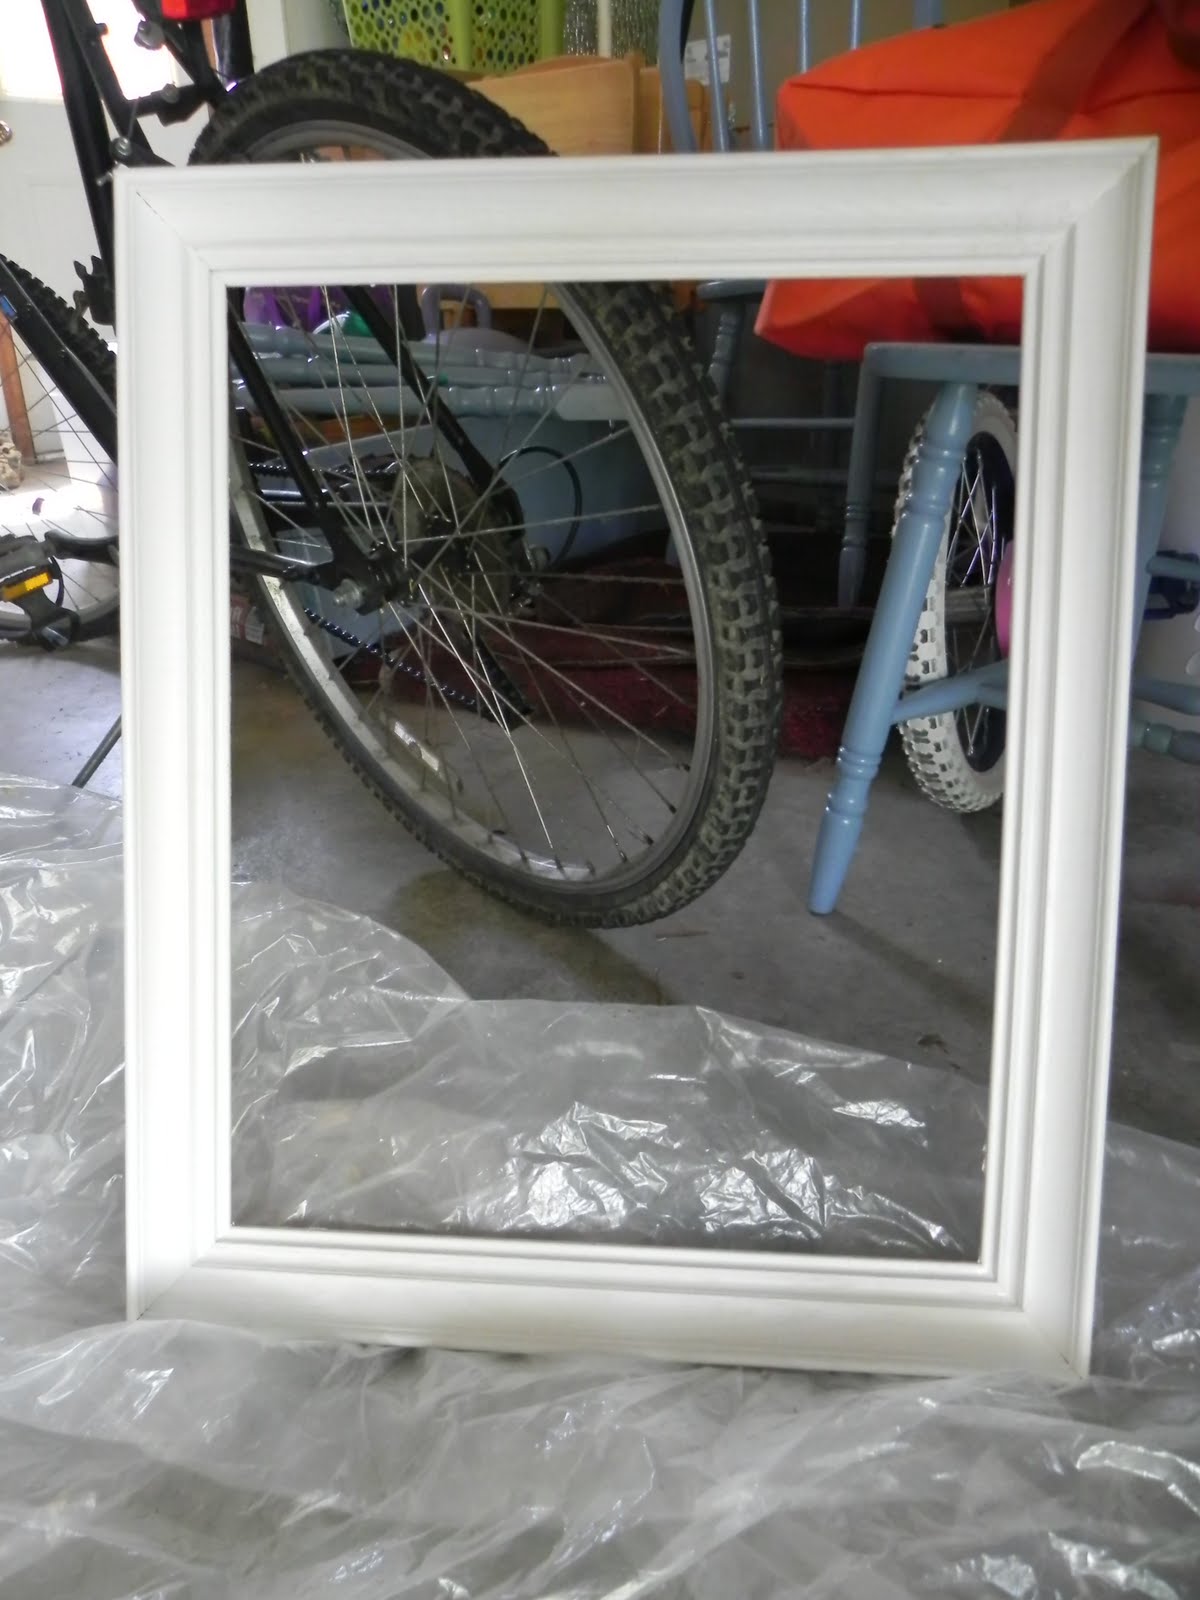
It was stinky and nasty, but perfect for my plan.

First I scrubbed it with Murphy's Oil Soap-Citrus and pulled the nails out of the back. That was a big difference by itself!
 Then I brush painted it with eggshell white. I was out of white spray paint, and had a perfectly good can of paint on hand. I gave it 2 coats.
Getting better, no? And it didn't stink anymore, which is always a bonus.
I used craft wire I had on hand for the 'lines', but it was brass-colored. Yuck. I wasn't going to spend $5 on a new spool of craft wire, so I rummaged through my spray paint and found some odd gray-ish, tan-ish, platinum-ish from I-don't-know-where. (Sound like a paint expert, don't I?) I don't have a pic, but I cut my wire to the correct length, taped them to a step stool top, and sprayed that ugly brass off with my gray-ish,tan-ish,platinum-ish. Perfect.
I stapled the wires to the back side and voila....

I added the rolled felt flowers after I saw this tute over at My Heart is Yours . Super, super easy. I could make those all day! Using scraps of course....
I hot glued those on, and added these little clothespins from Michael's $1 Spot that I picked up a few months ago (anticipating this 'someday' project).
They're super cute and match my kiddos room.
So now we have to hang it, but we are always needing a spot in her room for a current picture, card, or whatever else she deems "special". I'm not too hot on tacks in a child's room (even if she IS 7), so this works wonderfully and is super-cute to boot.
I spent $3 all together, which you just can't beat either.

Thanks for stopping by!
Linking up at these parties:


 Tatertots & Jello Weekend Wrap Up Party
 UndertheTableandDreaming
Sundae Scoop

Monday, May 30, 2011

{Clubhouse Makeover}

I've been MIA lately, but have several projects I'm working on! The weather has FINALLY been beautiful and it FINALLY stopped raining, so we spent the holiday weekend getting multiple yard projects out of the way.  Do you love to work in the yard? I absolutely love it... the satisfaction of checking something off our to-do list and admiring the end result.

Our first project was to makeover this "clubhouse". We moved into our 3rd home a little less than a year ago, and inherited the clubhouse from owners several years ago. It had great bones and great structure, but needed a few repairs and some cuteness for my nearly 7-yr old daughter.
It's located at the back of our 1.5 acre property, near the woods.
I had a vision of making general repairs, adding some playset accessories, and a few cuties to make it work for us. We have a wooden playset, but it's smaller. In hindsight, we would have purchased a larger one, simply for a larger "clubhouse" feature. But...with only one child, nearly 7, it doesn't seem cost effective to purchase a new $1K set when we had this clubhouse we could re-work. :)

Here's the finished product. We're happy with it, and best of all, she loves it!

Whatcha think?
For a hair over $100, we made a few repairs,  replaced the flooring, relocated the ladder entrance, and added the safety handles, steering wheel, mulch, and telescope.

 I covered the bottom with a weed mat and filled it in with mulch that matches the rest of our landscaping. She wants to add a few pinwheels at the bottom as well. :)

 We've had these outgrown rainboots on hold for a donation for at least 2 months! I saw an idea recently to use them as planters and I fell in love with it. I have no idea where I saw it, but it's a great idea so we kept the boots just for this purpose.

Now it's a safe clubhouse to play in, which is currently acting as one of the following:
1. a lookout for poachers in Africa
2. an animal rescue truck on the African savannah
or
3. an animal science lab.  :)
Can you tell she wants to be a biologist?

Thanks for stopping by!  I hope your weekend was as productive as ours!


I'm linking up over at:


NightOwlCrafting
Making

 The DIY Show Off

Thursday, March 10, 2011

{CD Cabinet Makeover}

So I've had this unfinished wooden CD cabinet for YEARS. Never disliked the piece, but never loved that it was unfinished. Well I got a 'round to it so-to-speak and it's an old piece made new! (Yes, we still have tons of CD cases...are we the only ones?? Of course the whole library is on my iTunes, but I can't part with the CD's themselves can I??) I guess I'm too old school on that one.

This was my first experience using glaze, too, and I love the results and how easy it was. 
Here's the before:

The knobs were already off at this point. 

I chose Valspar satin "Gentle Moss" green and painted it with 2 coats. Then I sanded the edges for a distressed look. After reading several tips online, I decided to glaze with Valspar's Transparent Color Glaze. I chose Mocha, and although I really like it, I think I might have liked a black or smoky glaze a touch better. Just overall. But I still love how it turned out!
I basically generously wiped it on with a paper towel, then wiped it off or lightened it to my liking. It really softened up the green, which is exactly what I was going for. The knobs were white wood, and I still might replace them, but for now I chose to glaze those as well...just too soften the white some. I'm happy with those, too.  It's hard to see the glaze on them in this picture though.

Here's the after, filled with CD cases again. :)

Nice change, and just spent the $ for the glaze and paint, which I will use for other projects. I made it through my first glazing experience and am smiling from the results, so it's a win. :)
Thanks for stopping by and I'd love to know how you like it!

I'm linking up to these fun parties: