Showing posts with label frames. Show all posts

Saturday, September 3, 2011

{Trash to Treasure: Goodwill Re-Vamp}

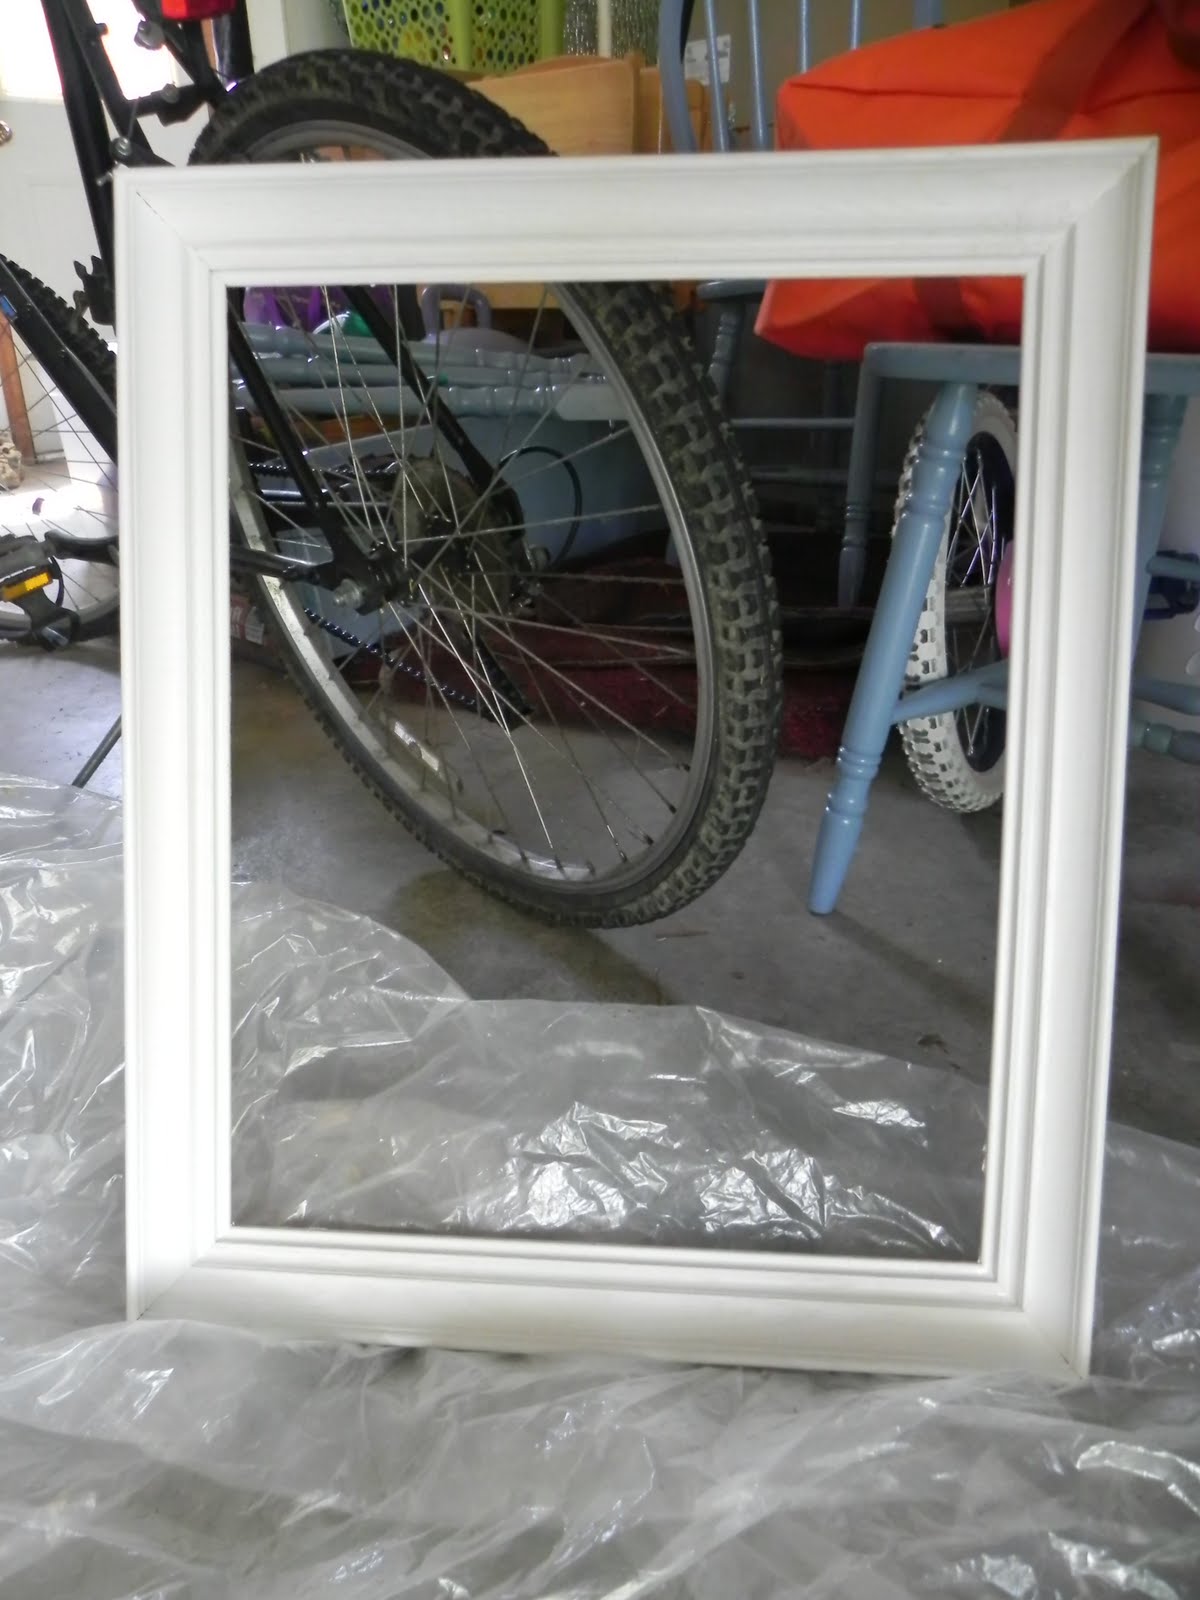
I've seen these wire line frames all over and loved the idea, but I'm just now gettin' to it. I've shopped around for a frame for my daughter's room, but the size I wanted was still more than I wanted to pay. I came across this beauty at Goodwill earlier this week for a whopping $3. Now that's my price!
It was stinky and nasty, but perfect for my plan.

First I scrubbed it with Murphy's Oil Soap-Citrus and pulled the nails out of the back. That was a big difference by itself!
 Then I brush painted it with eggshell white. I was out of white spray paint, and had a perfectly good can of paint on hand. I gave it 2 coats.
Getting better, no? And it didn't stink anymore, which is always a bonus.
I used craft wire I had on hand for the 'lines', but it was brass-colored. Yuck. I wasn't going to spend $5 on a new spool of craft wire, so I rummaged through my spray paint and found some odd gray-ish, tan-ish, platinum-ish from I-don't-know-where. (Sound like a paint expert, don't I?) I don't have a pic, but I cut my wire to the correct length, taped them to a step stool top, and sprayed that ugly brass off with my gray-ish,tan-ish,platinum-ish. Perfect.
I stapled the wires to the back side and voila....

I added the rolled felt flowers after I saw this tute over at My Heart is Yours . Super, super easy. I could make those all day! Using scraps of course....
I hot glued those on, and added these little clothespins from Michael's $1 Spot that I picked up a few months ago (anticipating this 'someday' project).
They're super cute and match my kiddos room.
So now we have to hang it, but we are always needing a spot in her room for a current picture, card, or whatever else she deems "special". I'm not too hot on tacks in a child's room (even if she IS 7), so this works wonderfully and is super-cute to boot.
I spent $3 all together, which you just can't beat either.

Thanks for stopping by!
Linking up at these parties:


 Tatertots & Jello Weekend Wrap Up Party
 UndertheTableandDreaming
Sundae Scoop

Saturday, June 4, 2011

{Weekly Summer Wipe-Off Planner}

Only 2 more days 'til school's out!!! YIPPEE!!! Do you loooove having your kiddo(s) home for the summer as much as I do???! I know it will be over only too fast, so we have a million fun things planned and I'm going to savor each moment. My baby goes to first grade next year, which means she will be in school ALL DAY for the very first time. (sniff, sniff)
Crying aside, because I'm a teacher and I live for learning every day, I try to create a light but somewhat structured learning plan for the summer. It's important to keep those little brains-a-workin'. One way I plan to stay on track this summer is by sticking to a schedule of completing ONE "smarty" activity every day. These are always simple, since this IS summer, but nevertheless they are there. We have a fun "theme" for each day:
 Math Monday  
Terrific Tuesday   
Wacky or Water Wednesday (a guaranteed pool day!)  
Thinking Thursday
Funky Friday

The goal for me is to stick to my one-a-day learning, reinforcement, review...whatever it might be. Mostly these are short 15 min.-ish activities (for my soon-to-be 7 yr old). Telling time, addition and subtraction facts, journaling 3x/week, map work, and loads of reading (which we don't have to work in because she's always got her nose in a book anyway). If your kiddo is resistant to reading, check out this fun idea.

Okay...I'm getting long-winded here! To stay on track and keep stick-it notes off of every surface in my kitchen, I grabbed an unused frame that's been patiently waiting in the wings.I stuck in a super-simple grid I made up in Word.
I printed it on creamy cardstock, plopped it in the frame, and added some sticky velcro to the frame and the pen to create a cute wipe-off board. It's just enough room for me to write ONE learning reminder for the day, but it will really help me to stay on track. I need a note for everything, and I didn't want learning activities to get mixed up in my regular everyday to-do's. This keeps them separate, clear, and my kiddo can read them and stay updated, too. It's only made for 5 days, and I liked the extra room for notes or other reminders about things we've worked on.
You can download the 5-Day Planner here . I used "Freeze" for my original font from Free Scrapbook Fonts
but no matter what I try I can't them to transfer to Scribd that way. Sorry! So the font is plain, but once you download it you could change it any way you like.  If I figure out the problem, I'll try to correct it...or if a techie can help, that would be great, too! :)

Only 2 more days....I can't wait!
Take care,
 

Wednesday, February 2, 2011

{Framed Burlap}

I'm a huge fan of signs...mostly antique ones...displayed in my home. When I saw this project at one of my favorite blogs, Brown Paper Packages , I had to try one for myself.
I changed it up a bit to make it something I could leave out all the time. So now I have a super cute "Est. 1998" sign on my antique hutch in the kitchen! It must be pretty cute because even hubby commented how much he liked having it there!  :)  I used a square frame that I  no longer have a photo for, re-painting it black and distressing it again.
I used Staz-On black ink, and a set of my el-cheapo foam alphabet stamps from Hobby Lobby. LOVE those things at 50% off. I use them for everything and they work just as well as pricey wood mounted.
After cutting my burlap the right size, I got a general idea of letter/number placement mostly just by lining up the stamps and eyeballing it. It didn't take long at all, and I think it's a great rustic look.
Check out Kierste's project here!

Take care,
Deanna

I'm linking up @:


Monday, January 31, 2011

{A New Twist on my Old Frame}

We moved into our new (to us) home about 6mths ago, which, as anyone who has moved before knows, that means that things that worked well in the old home don't always have a great place in the new home.
So this empty frame that I bought at an antique shop years ago just sat for a few months. 
It originally had antique kitchen items hung "inside" it in the kitchen of our previous home. The spacing on the kitchen walls just didn't work for it here, but I REALLY love that frame! My brain started working and I saw a need in our entryway for a coat rack or hooks of some kind, so I found a way to re-use my beloved frame.
I'm thrilled with it!


I found some beautiful "antique" looking fabric  (I love antiques!) and I stretched it across the back and stapled it to the frame. I then added 7 coat hooks across the front. I thought of doorknobs at first, probably my first choice, but honestly in a new town and a new house I just didn't see myself antiquing for a while.
I had a hard time deciding between black and silver at Lowe's, but I'm happy with the silver in the end.
Hubby screwed it to the wall for me and it not only makes a GREAT place for our coats and bags, it 
looks super cute, too!


The bench makeover underneath it is still to come.

Have a happy day!
Deanna

I'm linking up to these parties:


http://sumossweetstuff.blogspot.com/


 The DIY Show Off