Showing posts with label scrapbooking. Show all posts

Thursday, March 1, 2012

{Paper Bag Scrapbook}

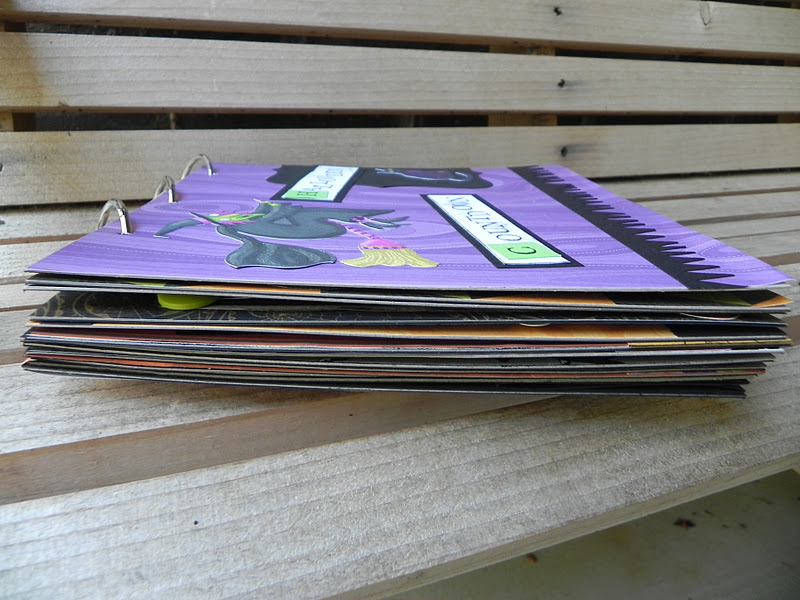
Whew!! I've been MIA lately and I'm not quite sure where the time has gone. I haven't been able to spend as much time in my craft room lately as I would like, but I did manage to get a little 'fix' with these little paper sack scrapbooks. These are so simple, you need VERY few supplies, and they make cute little keepsakes! I've seen lots of them, but never made one myself until one of my days off this week. There may be better ways to make one than mine, but I like the way it turned out.
I wanted  a cutie little place to keep a few of the group pictures from my preschool class this year. I didn't want to buy a photo album, because I really don't have enough pics to fill one. I saw my giant pile of brown paper lunch sacks and thought it was about time to try one of these!

I cut my bags off just above the bottom flap, then put a little glue stick on the open end to keep it together. From there I just added the pictures I wanted, and embellished with scrap pieces of patterned paper. I added a little bit of text here and there, but not a lot. I made it REALLY quick, but I can see doing one in more detail. Cute potential all over the place!

I punched the holes with my Crop-a-Dile, added book rings, and decorated with scrap ribbon. Voila! I think this would be a fun project for kids to make their own little scrapbooks on the cheap. I'm going to suggest them to my daughter's Daisy Troop Leader and I think the girls will love making them. They can make great little keepsakes with cheap scraps and stickers.


Thanks for dropping by!


Wednesday, October 12, 2011

{Halloween Countdown Flip Book}

Been a little crazy 'round here since I started teaching preschool 3 mornings a week. After 7 years of being at home, it's a bit tricky to get back in the swing of working, even just part-time! I'm enjoying it though, and finding my crafting time to be even more rewarding right now as I work to carve out time in smaller portions than before.
I saw this really cool Halloween Desktop Countdown Calendar a few weeks ago over at The Polka Dot Chair. I put it on my to-do list and within the week I had it finished. I had SO MUCH fun making this project!! I followed the really easy tutorial and I {love} how it turned out. I had not made a flip book like this before.
I made a few changes to accomodate my own book. Instead of buying pre-packaged chipboard, I cut my own out of cereal boxes from my recycling bin. Believe me, it is the perfect "chipboard", and I've yet to buy the real thing for any of my chipboard projects. So dig through your recycling!  :)  I cut each page to 8x8, and for that size, I needed the super size boxes of cereal (which I always buy).
I picked up a huge page of cardstock Halloween shapes from K&Co. (on sale) for around $3, and the rest of the papers were from my Halloween stash (which is hefty because it's my favorite holiday!)
I adhered each piece of scrapbook paper to the cereal boxes with Tombow glue. The back of each page is simple black cardstock. Most of the embellishments are also glued on with Tombow, although I also used snail for a few things.

I went through old photos and snagged 10 that I thought would be great in the book. I really liked how they looked as B&W in the tutorial , so I easily converted them all to grayscale using my Irfanview. All of the photos started as 4x6, and then I trimmed them as needed.

(above) One of my favorites!
The best part about this project was that since I actually wasn't recording any memories with words/journaling (like I do in my regular scrapbooks), I could just DECORATE each page. That was ALL I had to think about. Don't get me wrong, I {love} to record memories, journal, and find a way to get masses of photos in a small spaces on 12x12 pages, but just being able to create pages simply for the cuteness factor was a really nice change.
(above) My baby's First Halloween!  (sniff, sniff)
And here's a pic of the book when it's laying flat:
I had a side view of the 'stand up' part, but it disappeared somehow. You can tell that it stands up, and really the tutorial is super easy.

I think I'm going to make something similar for Christmas!
Thanks for taking a look,

Monday, July 4, 2011

{Scrapbooking: Writing & Drawing Samples}

Hello all!
Anyone been scrapping lately? I'm wrapping up our book for the school year, as well as plugging away at our Disney book.  For as long as it takes me to finish a scrapbook, I have a rule that the scrapbook for the school year HAS to be finished by the start of the next one. I even shoot to have it done by June, but that doesn't always happen. ;) I have only 1-2 more pages to complete this one, so I'm in good shape. Now if I can just get the one for our last Disney trip finished....(that was 7 months ago BTW). It's over half-done though, so I'm clinging to that!

My kiddo just finished Kindergarten, so the writing samples and projects greatly increased versus Pre-K. I have a file for all the best writing and art, or extra-special things, but I do like to scrapbook even the best-of-the-best of THAT file. (And as a teacher I get so excited to see all that progress!) Always before I've used a whole 12x12 page to showcase each item, which sometimes was several pages. This year I found that there were several journal pages I wanted to highlight, along with some homework, so I changed it up a bit.

Here's one of my finished layouts for this.
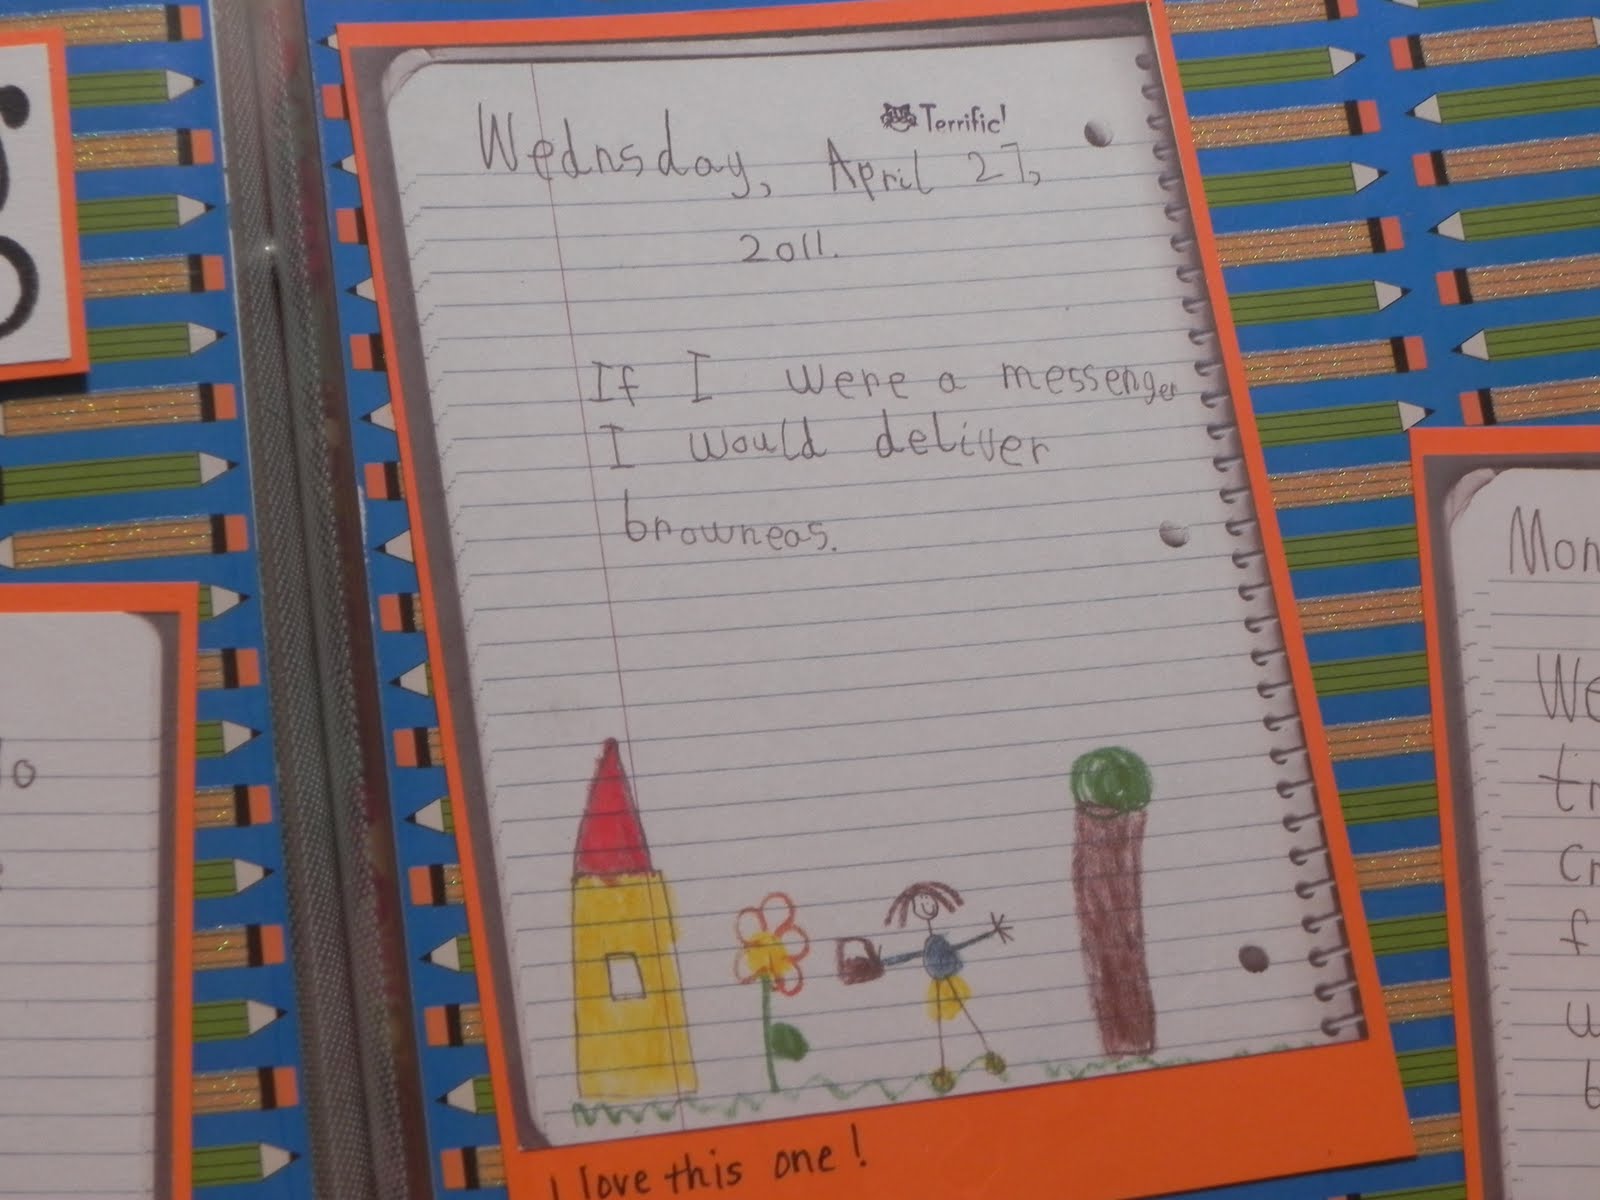
I chose 4 of her classroom journal pages, from the beginning of the year to the very end, so we can really see her progress.

Since I'm a super control-freak about saving, saving, saving, I start by scanning into a file on my computer all of the art/writing I want to keep.(Of course that's backed-up again, too...I'm weird like that.) Sometimes I scan and save them as photos, sometimes as documents. It depends on how I want to use them. This time around, I saved them as both, with the intent of using them as 'photos' for this layout. The nice thing about scanning them for your scrapbooks is that you can then re-print them onto acid and lignin-free paper for 
scrapbooks.
One 5x7 classroom journal page

I then printed them onto white cardstock, as a photo, so I could easily select the 5x7 size. You can also scan, copy, shrink...whatever you want if there's a different size you need. The 5x7 size worked well for this layout and made it easier, my primary reason for saving them as photos. After you print them, continue with your layout to your heart's desire.

For this one, I matted each one with cardstock, leaving room for some handwritten journaling at the bottom. Each writing sample had the date on it already, so I just ordered them that way across the page.
I think I will be doing this more and more in the coming school years, when actual photos from school days become less and less.(Sniff, sniff) But I really like how you can see some real writing progress on only a 2-page layout, and it was easy to do. I can see using multiple 3x5 or 4x6 photo sizes as well.  You could also use this same idea for reprinting and framing art or writing.

Thanks so much dropping by. I'm off to scrapbook our meeting with the Incredibles! :)